Reverse Engineering vocabulary
- Home
- Blog Details

- December 14 2018
- admin
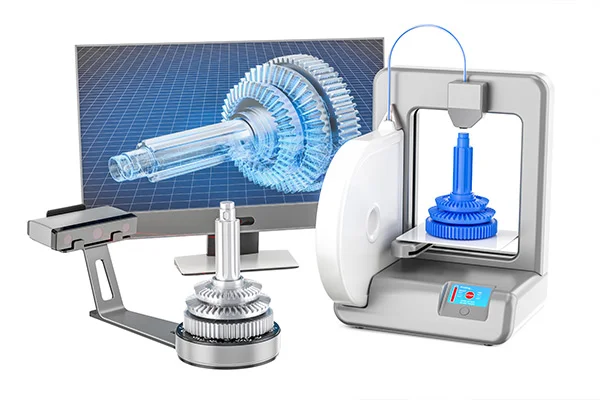
3D Scanning – The process of collecting 3-Dimensional data from physical object through a variety of data acquisitions devices.
3D to CAD: The process of converting 3-Dimensional point to a dimensionally defined graphic model.
Accuracy: The extent of how close a measurement is to the recognized true value.
Annotation Models: A digital model containing specific coordinate locations verifying deviations from nominal data.
AS IS CAD: A CAD model that represents actual manufactured parts rather than a designed CAD model.
CAD (Computer-aided design): The use of computer technology to assist in the creation, analysis, or modification of a design.
CAM (Computer Aided Manufacturing): The use software that can support both machine tools and 3D CAD modeling capabilities.
Cone beam: A conical-shaped x-ray beam that produces two dimensional images of an object.
Design intent: The process of taking a manufactured part into account with inherent errors and modifying the same till it is true.
GD&T (Geometric Dimensioning and Tolerancing): System of languages and symbols used for defining and communicating engineering tolerances.
Hand held scanner: Portable camera that is used for capturing 3D imagery of objects with a laser or structured light based.
Hybrid Model: Combining two different modeling processes to accurately define 3D geometry.
Laser Scanner: A device used to capture 3D surface geometry, consisting of a laser output and a sensor to interpret the data.
LIDAR: A combination of the words: “Light” and “RADAR.” A LIDAR scanner employs RADAR’s technique of emitting a signal and measuring distances to objects based off of the signals reflection.
Long Range Scanning: Acquiring data at expansive distances from hundreds of feet away to miles away. Data can be captured through a variety of devices including LIDAR, Time of Flight and phase shift scanners.
Modeling: Digitally creating 2D or 3D object using CAD or data manipulation software, such as Polyworks, Geomatics or Solid works.
NanoCT: Capturing images using CT (Computed Tomography), with a resolution of the images defined in nanometers.
Parametric Model: A sketch driven model that builds a design tree that can be opened in a CAD environment and allows the operator to manipulate the model.
Parametric Modeling: This process is taking 3d scan data and through the use of design tools, creating a sketch driven model with consistent relationships between features in the feature tree.
Phase Based Scanners: LIDAR Scanners that take measurements by sending laser pulses towards an object and measuring the phase shift of the pulses’ reflection off of the object.
Point Cloud: A set of points defined by X, Y, and Z coordinates that represent the external surfaces of an object.
Prismatic Modeling: Creating CAD geometry using basic geometry shapes, i.e. planes, cylinders, cones etc, to define correct shapes of the 3D geometry.
Re-Engineering: The process of modifying an existing part or assembly of parts digitally to improve its performance or use.
Repeatability: The variation in measurements taken with the same piece of equipment, under the same conditions, across multiple tests.
Reverse Engineering: The process by which a man-made object is dismantled to reveal its architecture, designs, or to extract knowledge from the object in order to know about its functioning and structural integrity.
SCAN to CAD: The process of collecting 3D data using 3D scanning hardware and converting the dimensional data to CAD format using a variety of software packages.
2D Drawings / Schematics: A 2D print that describes the physical characteristics of an object, how it should be made, assembled, handled, etc. These can be used to provide basic dimensional values to define its function.
Sectioning: The process of creating 2D profiles through sections of an object.
Short range scanning: A process used to collect dimensional data in 3D space from short ranges.
Solid Modeling: Defining an object with CAD tools such as extrudes, revolves, sweeps, etc. A solid model is enclosed and is said to have mass and volumetric values can be calculated.
Surface Model: An objects exterior skin defined by CAD features or NURBS surfaces.
Triangulation Scanner: Projecting a known pattern of light grids or fringe onto an object in order to calculate surface geometry by analyzing the distortions of the pattern.
White Light Scanner: A 3D camera projecting a known pattern of light grids or fringe onto an object in order to calculate

