End-of-Line Inspection
Advanced systems for perfect product quality
End-of-Line Inspection: The Ultimate Quality Assurance Solution
End-of-Line (EOL) inspection, also known as functional testing, occurs at the very end of the production line. It’s your final opportunity to identify and rectify any defects or malfunctions before products are shipped to customers.
In today’s competitive manufacturing landscape, delivering defect-free products is paramount. End-of-line (EOL) inspection is your final quality checkpoint, safeguarding your brand reputation and customer satisfaction. Prescient Technologies empowers manufacturers with cutting-edge automated EOL testing solutions to eliminate defects and optimize production processes.
Our End-of-Line Inspection Solution
Automated Scanners
High-speed, non-contact machines with eagle-eyed vision detect even the smallest surface flaws
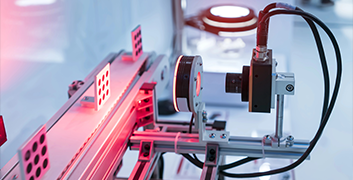
Optical Laser Systems
Laser precision ensures your products meet exact size requirements, guaranteeing a perfect fit.
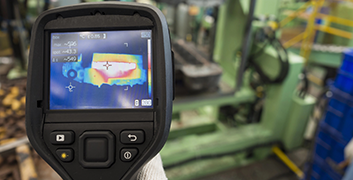
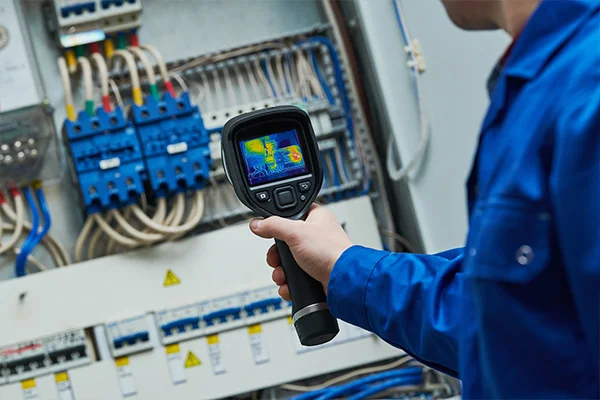
Thermal Imaging Cameras
See beyond the surface with thermal imaging, revealing hidden defects traditional methods might miss.
Benefits of EOL Inspection

Smoother Production
Early defect detection keeps your production line running smoothly.

Reduced Costs
Prevent defective products and rework to save money in the long run.

Data-Driven Insights
Gain valuable data on defects and improve your processes continuously.

Contact us today for a free consultation!
Ensuring Quality
Key Aspects and Methods of End-of-Line Inspection in Manufacturing
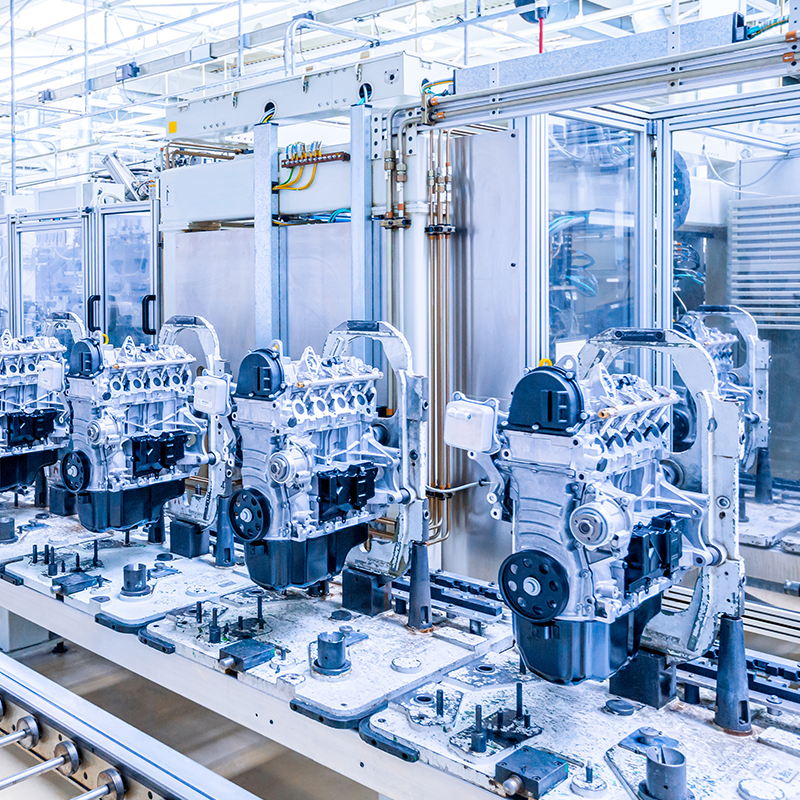
End-of-line inspection is vital in manufacturing to ensure products meet quality standards before reaching customers. This process uses various techniques based on the product type, including quality control to meet requirements, defect detection, compliance with industry standards, functionality testing, aesthetic checks for visual flaws, and dimensional verification to ensure correct sizes.
Improved Product Quality
Ensures only products that meet quality standards reach the customer.
Reduced Waste
Early detection of defects can prevent defective products from reaching the end of the line.
Cost Savings
Reducing the cost of recalls and rework.
Customer Satisfaction
Delivering high-quality products enhances brand reputation and customer satisfaction.
Inspection Methods
Ensure product quality with end-of-line inspection methods, including environmental, dimensional, non-destructive, electrical, visual, and functional testing. These techniques guarantee durability, accuracy, and compliance in manufacturing

Functional Testing
Ensures products perform as intended, encompassing software checks for electronics, pressure assessments in piping, and durability tests for mechanical components.

Visual Inspection
Human inspectors manually check for defects, while automated systems use cameras and computer vision for detection.

Dimensional Inspection
Uses Coordinate Measuring Machines (CMMs) for precise measurement of physical geometries, and Laser Scanning to create detailed 3D models for comparison with design specifications.
Technologies Used

Machine Vision Systems

Robotics

IoT Sensors

Artificial Intelligence

Data Analytics
Why Traditional EOL Inspection Doesn't Deliver

Human Error
Even the most experienced inspectors can miss subtle flaws due to fatigue, inattention, or inconsistencies in visual assessment.

Limited Scope
Traditional methods often rely on visual inspection alone, failing to detect hidden defects or internal issues.

Slow and Laborious
Manual inspection is time-consuming, impacting production speed and potentially leading to bottlenecks.

Subjectivity
Quality assessments can be subjective, leading to inconsistencies in defect identification and potential rework needs.

Limited Data Insights
Traditional methods offer minimal data on defect types and trends, hindering proactive process improvement.
End-of-Line Inspection in Different Industries
Manufacturing
Finds surface defects, assembly errors, and misaligned parts.
Electronics
Inspects circuit boards, solder joints, and semiconductor wafers.
Automotive
Detects paint flaws, scratches, and structural issues.
Pharmaceuticals
Checks packaging, labels, and tablet quality.


